
Day to day and even hour to hour, the surf changes. So much goes into surfing, not only from the perspective of the gear and the surfer, but from nature too with all that goes into forming the waves you ride.
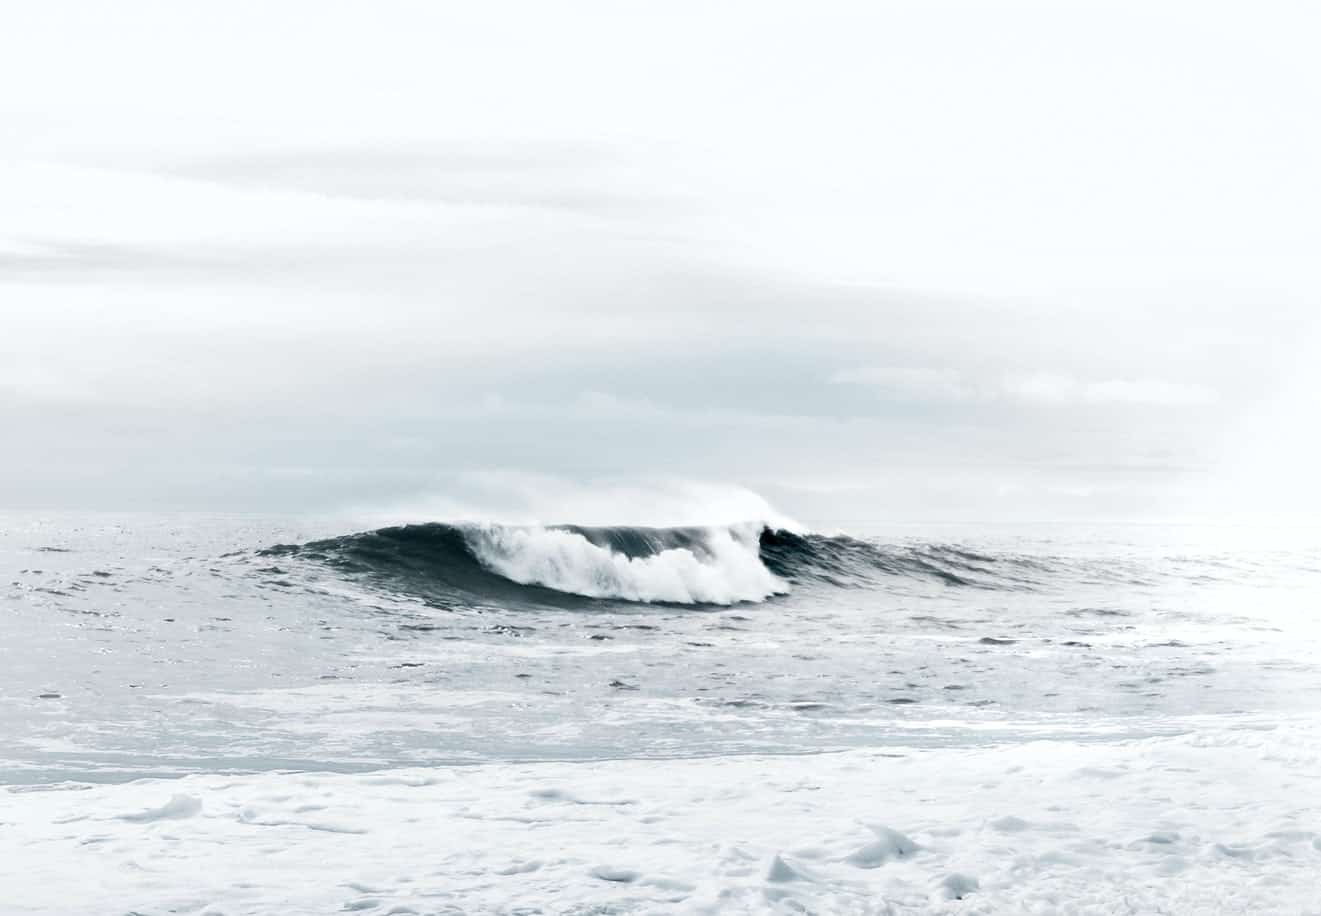
It can be intimidating when you first get out in the water to know what waves you can handle and figure out what you’re doing in general. The first and biggest question though, what size waves are best for beginners? Knee high to waist high waves are perfect for beginner surfers. This is typicall 1-2 feet.
The best size waves for a beginner will depend on how confident you are in the ocean and how well you picked up the basics. For beginners, it’s best to stay in the shallows and ride whitewash waves.
Knee to waist high, or 1 – 3 foot waves are a good height range for beginner surfers.
Starting out in these will allow you to practice the skills you need for surfing: endurance, paddling, going over and under crashing waves, popping up and standing. You want to surf in waves that are within your skill level as a beginner.
It’s no fun to go out just to be thrashed by waves too powerful for you. In this height range, you’ll be able to chase after and catch waves without getting too pummeled.
As a beginner you’re more likely to wipe out so it’s best to stay in water you feel very comfortable swimming in.
While wave height is important as a beginner, there’s a lot that goes into picking out and reading the surf whether you’re a beginner or life long surfer.
How Wave Height is Determined
Wave height seems like it should be universal, but there are a few different ways to measure. Depending on the method being used, a wave can be considered anywhere from 2 – 6 feet high.
It’s important to know how someone is measuring when telling you about the surf or recommending suitable waves as a beginner.
Bascom Method
The Bascom Method was developed by Willard Newell Bscom, an oceanographer.
In this method, wave height is measured standing on the shore and measuring from crest point to the average sea level, or, from the trough to the crest.
Popularized by California surfers, it’s often seen as an overestimation of wave height due to the varying depths of the trough.
Hawaiian Scale
Popularized by Hawaiian surfers, the Hawaiian Scale uses the back of the wave to measure height. So where a wave would be considered 8 feet by the Bascom Method would be roughly 4 feet by the Hawaiian Scale.
This way of measuring isn’t very common outside of Hawaii and generally considered an underestimation of determining wave height.
Surfable Wave Method
The Surfable Wave Method is a balance between the prior two ways of measuring wave height.
In this method wave height is determined by measuring where the wave starts to barrel up to the peak. Or, the area of a wave that is actually ridden by the surfer.
Body Height
Body height measurement is the last, most informal way to measure waves. Using units of measurement such as waist high, head high etc, it’s an easy to understand way of communicating.
There are flaws to this system though as the height of the surfer dictates the unit of measurement, though it’s generally based on a 6 foot surfer. This method is for general estimations over specific measurements.
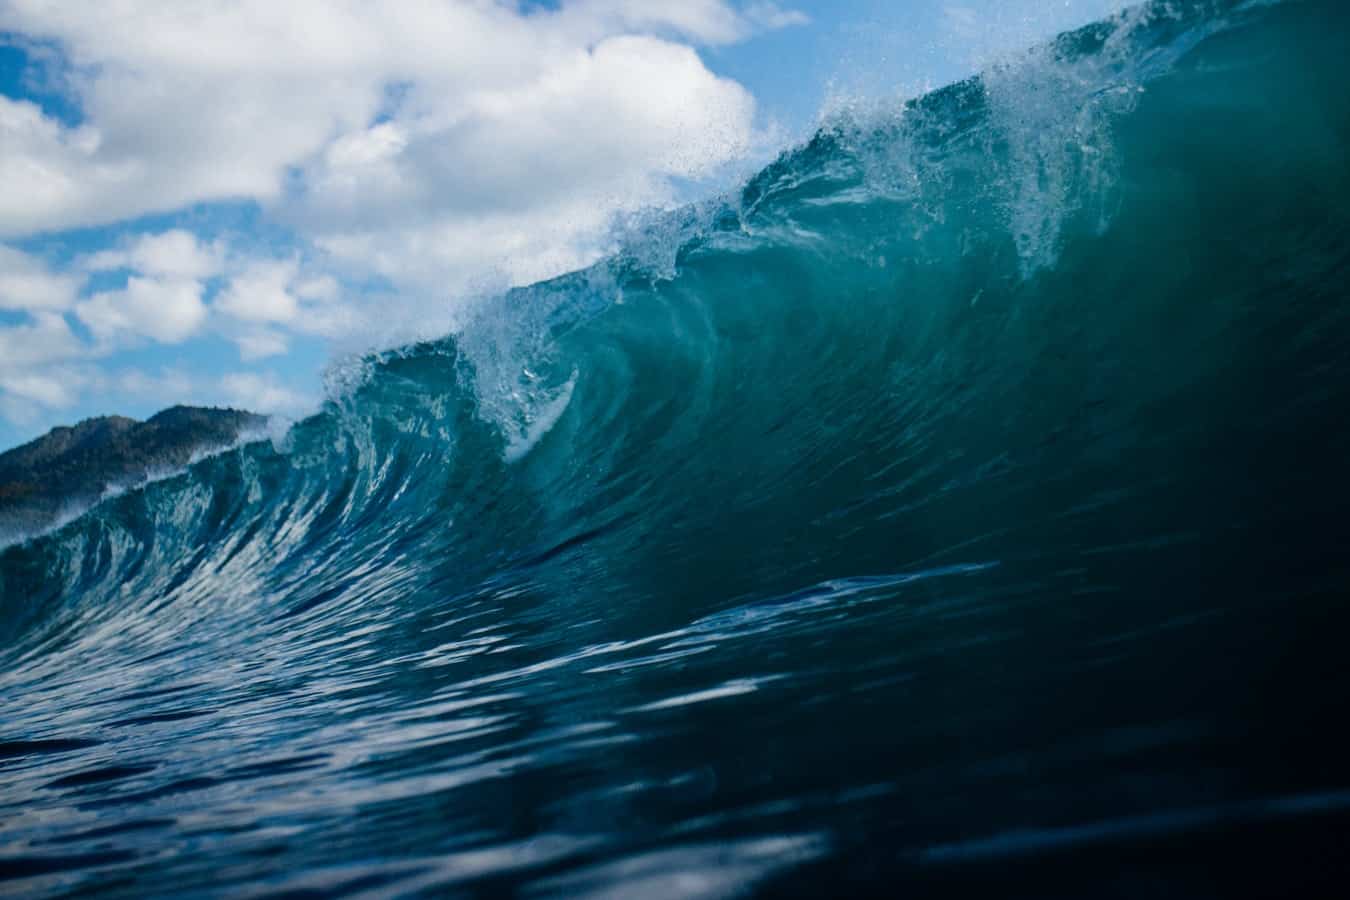
Parts of a Wave
After measuring how tall waves are, it’s important to know the parts of the wave.
Peak
The peak is the very highest point of a wave. When reading and going after waves, you paddle towards the peak.
Trough
The trough is the very lowest point of the wave just as it crests. The trough goes below the horizon.
Lip
The top part of the wave where it begins to crest over is the lip.
Shoulder
The shoulder is the part of the wave furthest from where it’s breaking. You ride from the portion that’s breaking towards the shoulder.This is the best spot to go over a wave you aren’t catching.
Face/Wall
The face, also known as the wall, is the steep part of the wave in front of where it is breaking.
Tube/Barrel
The inside, hollow part of a wave that’s breaking is called both the tube and the barrel. The dream spot for surfers although not all waves create surfable barrels.
Pocket/Curl
The pocket or curl is just before where the wave is breaking. Generally this is the area surfers ride and where the power to keep moving forward comes from.
Whitewater
The foamy white part that has already crashed is called whitewater. Beginners usually ride the whitewater of a wave.
Reading Waves and How They Break
Part of learning to surf is learning to read the waves and knowing which way they’ll break. An art within itself, it’s one of the most important parts of catching a wave.
Afterall, if you can’t tell where a wave is forming or where it’s going, there’s no way you’ll be able to paddle after and ride it.
It can take years to fully understand and read the water, the more you surf the better you’ll become. Here are the basics.
Breaking Waves
The direction in which a wave breaks dictates what direction you need to paddle and whether you should chase after it at all. Direction is determined based on the perspective of the rider.
So what may look as a left hand peeling wave from the shore, is actually a right hand wave on the water. Always determine direction based on the surfer.
- Right Hand: A wave that angles and breaks towards the right
- Left Hand: A wave that angles and breaks towards the left
- A Frame: Also known as a split peak, a wave that breaks both left and right. With even angles on both sides, two riders can catch this type of wave going opposite directions.
- Closeout: A wave that crashes entirely over itself going neither right nor left. Not rideable waves
Reading Waves
The first part of reading the waves is being able to identify its formation. Look for lumps on the water, this will turn into a wave.
After identifying the lump, look for the peak. Using the horizon as a guide, identify the angle from the peak. This angle will determine the direction of the wave, whichever side has the steepest angle is the direction the wave will break.
If there’s no identifiable angle, the wave will be a closeout. The greater the angle, the slower the wave will be. If you’re looking for fast waves, look for straighter angles.
Once the peak and direction has been discerned, start paddling for it.
Ideally you want to reach the peak before it breaks, this will take fast paddling as well as good endurance and strength. If you don’t make it to the peak before the wave breaks, aim for the pocket for take off.
When you’ve reached your take off, flip around facing the water with your board in the direction the wave is breaking towards. Paddle fast and pop up once you’ve caught your wave.
Sit on the beach and spend some time watching the water before heading in. Watch for where waves are breaking and how they’re forming. Practice and take your time, you’ll be a pro at reading waves before you know it.
Swell
Swell plays a huge role in creating waves, and not all are created equally. In addition to wave height and reading the waves, understanding swell is important in learning the surf.
Waves are formed by the friction between wind energy against the water. Depending on the strength of the wind and how long it travels over the water, dictates how big a wave will be.
When wave energy is created and it moves out from its origin, it separates and moves into sets. This is the swell.
There’s two types of swell that create the waves at your surf break, groundswell and windswell, and they create different types of waves.
Groundswell
Groundswell waves are created far offshore, usually by storms or other strong weather systems. These waves then travel far distances, sometimes up to two thousand miles.
Since they travel such a long distance, these waves pick up strength and speed along the way as well as separating themselves into nice, clean sets.
They tend to have greater wave periods, roughly 10 – 20 seconds between waves.
Groundswell is what every surfer looks for, their clean appearance and nicely spaced sets make them ideal for riding.
Windswell
Windswell waves are created closer to shore by local winds. Since they don’t travel the distance that groundswell does, they are generally more choppy, messy waves.
They also tend to be smaller and have less power behind them as they don’t run as deep or travel as far.
This type of wave isn’t very good for surfing, but most surf spots will have a mix of groundswell and windswell.
Wind
We know wind is key in the formation of waves, but it also plays a part in what happens at your surf break. Once your waves make it to you, the wind energy at shore also shapes and transforms the waves.
Offshore
Offshore winds blow from the land out towards the ocean. This slows down the waves, leading them to break closer to shore.
Doing so usually helps form cleaner waves with steeper faces making for faster or better rides. In general, offshore winds are ideal conditions for surfing, although there are certain caveats depending on your beach.
Onshore
Onshore winds blow from the ocean towards the land. These winds speed up the waves and wave period, leading to choppy surf that breaks much sooner in open water.
While less than ideal, this type of wind can also create peaks on waves that would otherwise close out and garner much fewer surfers. So, although not the best waves for surfing, they can be good practice for a beginner.
Related Questions
What Are the Best Conditions For Beginners?
As already discussed, there’s more to the surf than just wave height. In general, groundswell with light offshore winds are the best waves to surf.
For beginners, small surf on clean organized sets are the best conditions to learn on.
What is the Best Board For Beginners?
Boards come in all shapes and sizes but the best for beginners is generally a long foam board.
A longboard is the easiest to learn with as it has the greatest volume or buoyancy along with the greatest stability. Foam is great because it will be softer and can take a beating.